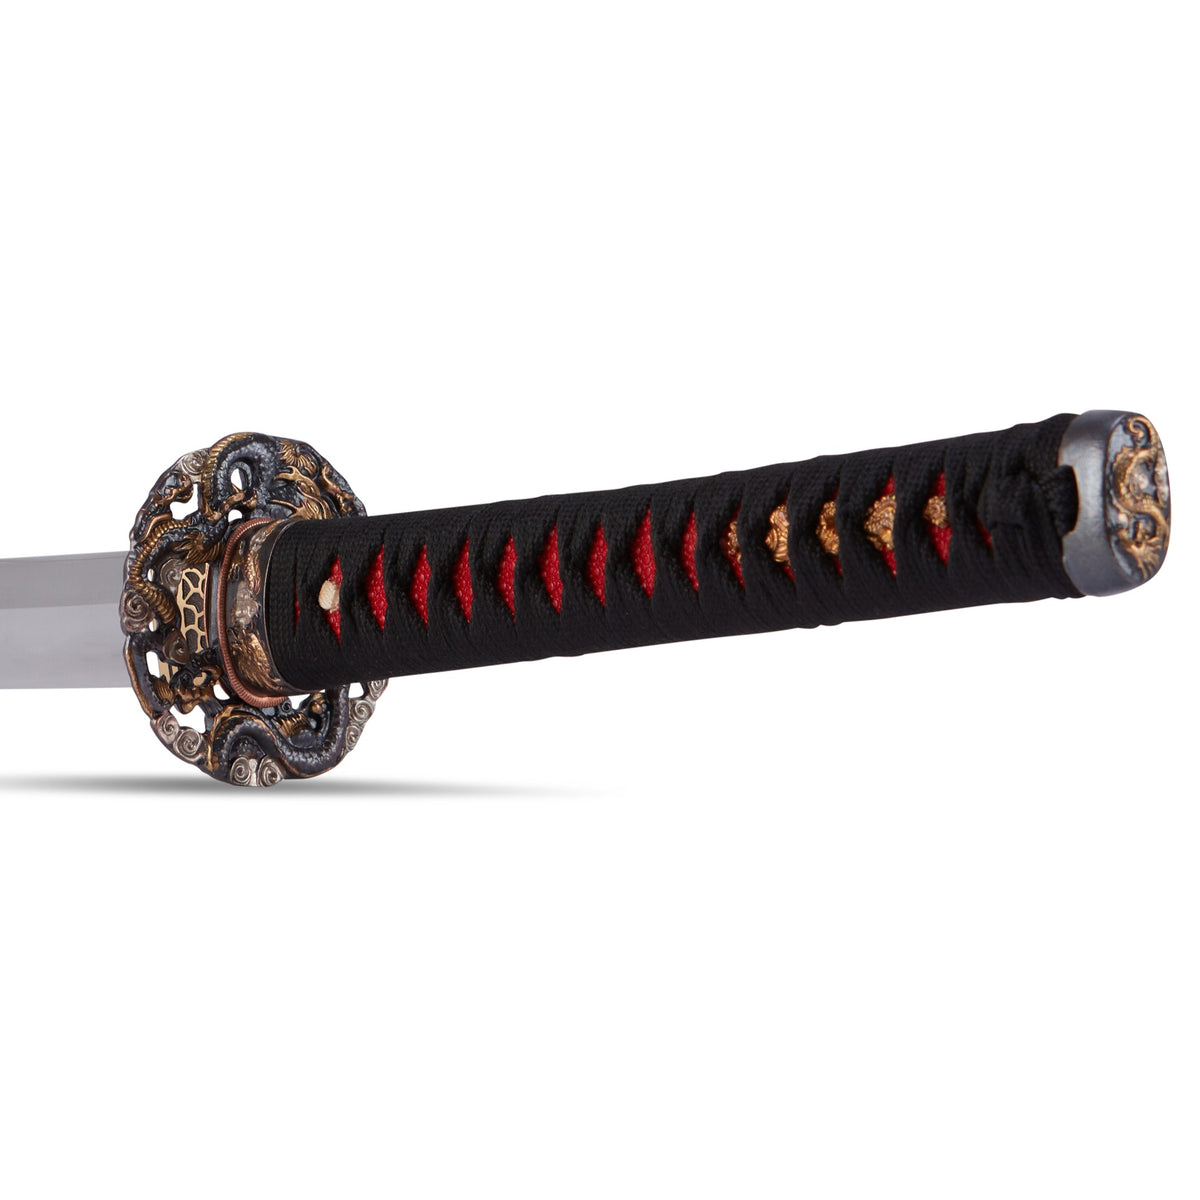
The Secrets and Traditional Methods of Forging Japanese Swords

Though only a small amount of metal, it is a weapon of great strength and elegance. Nor is it just a weapon. It is an instrument of which beauty is demanded. Within its calm serenity lurks a deep sadness, hidden by a mystical brilliance. Once born, each Japanese sword possesses a destiny. It must not break or bend. It must cut like a knife through butter. When samurai warriors dawned their swords, they required them to look exquisite. A sword not only had the utility of a weapon, but also made a fine possession. The pursuit of these twin virtues gives the Japanese sword a unique and illustrious history.
A samurai staked his life on his sword. From it’s origins over a thousand years ago to the present day, the Japanese sword is steeped in tradition. Down the ages, it has become the object of devoted study by many. The art of Japanese swordmaking reached it’s pinnacle at the beginning of the 13th century, during the Kamakura period. Swordsmiths today aim to emulate the incredibly high standards of those times.

The secret of a Japanese sword’s strength lies in it’s dual composition. It consists of a softer, more flexible core steel known as Shingane, enveloped in a hard outer steel jacket known as Kawagane. This makes the sword superbly strong, difficult to break, and gives it an excellent cutting edge.
The other key characteristic of Japanese swords is the use of a raw material known as tamahagane. This special kind of Japanese steel is made by heating satetsu, or iron sand, over charcoal at comparatively low temperatures, resulting in a steel that is low in impurities. Elsewhere in the world, steel from blast furnaces is used. In Japan, the smelting of tamahagane is done using charcoal throughout. The swordsmith has to distinguish between the different pieces of steel and carefully pick out those best suited for making a sword.
The place where swords are created is called the smithy. The setup is very simple. There is a piston-operated bellows near the forge. This pumps air into the forge to allow the temperature to be adjusted. There are tools for grasping the steel, and others for hammering it. A special kind of pine charcoal is used as a fuel for the forge because of it’s ability to produce a great amount of heat.

Japanese Sword Smithy
Before a sword is forged, swordsmiths traditionally performed a fire lighting ceremony. This involves hammering a plain iron rod down to a sharp point. When the tip of the rod is struck hard and fast, the point absorbs enough heat to be able to light a piece of paper. Using this flame, the swordsmith lights the forge. Charcoal is added, and the forge soon begins to produce heat.
Next, the tamahagane is placed in the forge, the first step of making the kawagane steel jacket. Working the bellows, the smith pumps blasts of air into the forge, adjusting the heat to properly smelt the tamahagane.

Tamahagane in it's original form
During the swordmaking process, most of the raw material is removed as impurities. Only around 25-35% of the tamahagane will actually be used in making the Katana. Each piece of tamahagane is pulled out of the forge and held with a plier-like tool on an anvil by the master smith, while his disciples hammer it flat using ten kilo hammers. The hammering is repeated several times, with the master smith tapping out directions. The piece of tamahagane is quickly made flat. During this process, the impurities within the steel rise to the surface and can be hammered out.
Once the steel has the same thickness as a cracker, the process known as Mizu-uchi is performed. Water is sprinkled underneath the steel wafer, and it is hammered once more. The combined effect of the steam, and the shock induced by hammering causes the surface to peel off. This part of the process is critical for removing as many impurities as possible before proceeding to the next stage. When the steel is quenched in water, cooling it down quickly, it is made harder.
The wafers of harder tamahagane are then broken into smaller pieces. At this stage, the carbon content of the steel is still too high. Although hard, the steel in it’s current state would make a sword weak and extremely brittle. The master swordsmith must then select which of the small broken-up wafers of tamahagane are best suited to make the sword. A carbon content of around 1.0 to 1.3% will be desired for the the hard steel jacket, while the tamahagane that makes up the soft, flexible core will have a lower amount of carbon.

Wafers of Tamahagane
To make a sword strong and flexible, the steel must be completely uniform throughout the length of the blade. To achieve this, many layers are squeezed together in the forging process. Burning rice straw is another vital part of the whole operation. The black rice straw ashes are wrapped around the steel during forging to prevent overheating, which would prevent too great a loss of carbon. This makes them one of the secrets of sword creation.
The steel wafers of tamahagane selected by the smith are skillfully arranged on top of eachother to make a block of steel. To prevent the wafers from spilling over, collapsing, or falling off, the smith carefully wraps the block with wet Japanese paper. The black ashes are coated on to the paper-wrapped bundle. This helps compensate for the loss of carbon that occurs with heating. The smith then pours a clay and water mixture over the block. The clay and ash wrapping ensures that heat passes evenly through the block to it’s core. As the temperature of the block mostly rises from the inside-out, this prevents carbon loss happening on the surface only. This results in a steel block which is uniform.

Steel block coated in ashes
The steel block is next placed in the forge, heated slowly by adjusting the air produced by the bellows. Since different temperatures act on various materials to produce differing kinds of swords, the process demands a combination of intuition and experience. Eventually the ash wrappings and paper will have melted away. The smith must sense the moment just before the inside of the tamahagane starts boiling, as to not melt the steel. This demands a high degree of skill. At this point the steel is hammered down until is it uniform. Once the layers of tamahagane have been compacted, the block is rewrapped and placed in the forge once more, and the process is repeated.
After this stage, a cut is chiseled into the block of steel and it is folded back over itself, resulting in a new piece double the original thickness. Each time this is repeated, more impurities within the tamahagane (mostly titanium, phosphorous, and sulphur) are peeled and scraped off, or scattered by the hammer blows. Each repeat also reduces the carbon content a fraction. To reach the correct level, the process needs to be repeated around a dozen times. After each fold the block is wrapped in ashes and coated in the clay slurry, then reheated in the forge. The block is stretched by the hammering to double it’s original length before folding. The cuts in the steel alternate between cross-wise and length-wise. Cutting this way in a cross formation is a matter of careful calculation.

Folding of the Steel Block
The flattened wafers of tamahagane all differ in their precise carbon content, thus when stacked, heated, and then hammered, the parts meld and the whole gains even greater strength. Hundreds of thousands of thin steel layers pile up on top of one another and become enmeshed, creating a dense structure. With every repeat of folding, the number of layers doubles. After the tenth time for example, the steel consists of 1,024 layers. After polishing of the final blade, these different layers show up in an exquisite surface pattern known as the sword’s jihada. In the folding lies the secret of the sword’s combination of strength and beauty. The swordsmith’s individuality is strongly reflected in the interplay of colors and textures in the final sword. The jihada in particular is an important way of differentiating between the work of different craftsmen.
 The hard, toughened steel is bent into a U-shape which becomes the sword’s outer casing, the kawagane. Formed by a similar process, the slightly softer shingane forms the core of the sword and is inserted inside the jacket. Hardened steel is used for the cutting edge, while the more flexible inside of the sword absorbs the shock of an attacking swing. This use of harder and softer steels in Japanese swords distinguishes them from swords made elsewhere, which are made of uniform steel throughout. The precise way the kawagane and shingane can combine leads to a myriad of different possibilities, producing swords of various strength and durability. The beauty of the jihada truly reflects the skill of it’s creator.The hard, toughened steel is bent into a U-shape which becomes the sword’s outer casing, the kawagane. Formed by a similar process, the slightly softer shingane forms the core of the sword and is inserted inside the jacket. Hardened steel is used for the cutting edge, while the more flexible inside of the sword absorbs the shock of an attacking swing. This use of harder and softer steels in Japanese swords distinguishes them from swords made elsewhere, which are made of uniform steel throughout. The precise way the kawagane and shingane can combine leads to a myriad of different possibilities, producing swords of various strength and durability. The beauty of the jihada truly reflects the skill of it’s creator.
Once the initial forging is complete, the smith now moves on to shape the sword to his liking. He will put the combined bar of steel into the forge, taking care not to heat it too much. He then hammers it into the rough shape of a sword, lengthening it as he goes. He must be careful not to destroy the balance between the jacket and the core steels. By this stage, practically all of the impurities have been beaten out of the tamahagane, leaving only about a third of the weight of the original material. The blade is repeatedly heated in the process of shaping to keep the steel malleable while the smith hammers the steel into the shape of a blade. This is a job only for the master swordsmith, the disciple’s assistance will no longer be required.

Heating of the blade during shaping process
The smith proceeds with a conceived shape in mind. This part of the process brings all his senses and technique to the forefront. It is crucial at this stage to minimize the number of times the blade is heated up. The smith must move at lightning speed to prevent any more carbon leeching out of the blade. Conserving the steel is a vital skill. The smith must prevent the sword from cooling, or impurities from adulterating the sword. Producing an attractive jihada on the blade’s surface is a sign of fine craftsmanship.
The actual curvature of the sword is not manifested until later, when the edge of the blade is hardened. This makes it very difficult to imagine exactly how curved it will turn out to be. The swordsmith must use his experience to determine his sword’s final shape, and thus it’s elegance. Once the shaping process is complete, you can begin to imagine the blade in all it’s final splendor. The shape of Japanese swords changed over the ages as methods of waging battle changed. These different styles and methods of use have all added to the complexity of the Japanese swordmaking craft.

Shaping of the Blade
Having used his hammer to shape the blade, the smith now begins the finishing process. First he does a rough filing. This determines the blade’s frame. After filing, the blade is grinded with a whetstone. All surface oil is removed using an ash & water solution, and the blade is then dried thoroughly.
The smith now turns his attention to the single most important part of the blade, the hamon. This is the pattern created along the blade in it’s final quenching. A special clay mixture is used to make the hamon. The adhesive clay is made out of a mixture of charcoal, pulverized wet stone, and other ingredients. The exact proportions and ingredients are the smith’s own personal secret. After the mixture is carefully prepared, the smith applies it to the roughly ground sword with equal delicacy. The clay is painted on to the blade in a thin layer. Once it is dry, it will be fired. The precise details of this process of making the hamon have been a closely guarded secret of Japanese swordsmiths since time immemorial.

Applying clay mixture to the blade to make the hamon
Once the light layer of clay is applied to the cutting edge, the smith will use a thicker clay mixture for the spine of the blade. This coating is to ensure the blade does not heat up too much and over-harden. After both layers are applied, the smith will go to work with a small spatula, arranging the clay in a specific pattern on the blade to create his signature temper line.
Finally we come to the process of hardening the edge. This is where the sword’s underlying elegance is brought out in an instance. Small pieces of charcoal are used to ensure the clay coating does not peel off. The smith takes great care to ensure the heat of the forge is as even as possible. He must be able to distinguish very subtle changes in the color of the hot sword, so the smith will often perform this process in pitch blackness. Carefully passing the sword through the forge with one hand, he pumps air into the forge. Each push of the piston changes the forge temperature, and this has to be judged by the color of the sword. Maintaining the temperature between 755 and 780 degrees celsius, the smith ensures that the sword is heated evenly throughout.

The smith quenches the sword suddenly in a trough of water. This dramatic cooling, owing to the peculiar properties of steel, produces a different crystalline structure on the edge of the blade called martensite, which is particularly hard. The smith lightly passes the blade through the forge a second time. Next he tempers it by quenching again. This relieves stress in the hardened edge and ensures the entire blade remains flexible and strong, while increasing the curvature of the sword. After further treatment to clean off the clay, we reach the crucial moment when the hamon is revealed. The unique hamon line should be very visible on the blade. At this point, the smith can tell whether the temper process has been a success or not.
The blade’s tang, called Nakago in Japanese, is the part of the sword where the swordsmith carves out his signature marks. Inscription marks often include the swordsmith’s name, the date of creation, and the name of the person who ordered the sword. The mekugi-ana, or rivet hole, is drilled into the tang for the bamboo mekugi peg that will secure the blade to the tsuka (handle). The job of the polisher is to bring out the smith’s intended hamon, and make the jihada look as beautiful as possible. He helps to bring life into the sword, and bring it to it’s final state of shining brilliance.
Today the Japanese sword is held up as an example of exquisite artistry and craftsmanship. In ancient times we know that it was used as an important weapon. The crafted sword concentrates in it’s fine lines the knowledge of the ages, mixed with a sense of omnipotence. It is not enough merely to cherish the beauty of a Japanese sword. It is a weapon in which one entrusts one’s life. It is naturally drawn to the battlefield. Once there, the warrior must wield it resolutely, to kill if necessary. If he falls, he falls gracefully. It is perhaps impossible to touch the real secret beauty of the Japanese sword until one comprehends the spirit of the samurai, and the solemn Bushido oath he bears in his heart.
Best Sellers
- Regular Price
- from $199.99
- Sale Price
- from $199.99
- Regular Price
-
- Unit Price
- per
- Regular Price
- from $299.00
- Sale Price
- from $299.00
- Regular Price
-
- Unit Price
- per
- Regular Price
- from $199.00
- Sale Price
- from $199.00
- Regular Price
-
$0.00
- Unit Price
- per
- Regular Price
- from $619.00
- Sale Price
- from $619.00
- Regular Price
-
- Unit Price
- per
- Regular Price
- from $319.00
- Sale Price
- from $319.00
- Regular Price
-
- Unit Price
- per
- Regular Price
- from $249.00
- Sale Price
- from $249.00
- Regular Price
-
- Unit Price
- per
- Regular Price
- from $339.00
- Sale Price
- from $339.00
- Regular Price
-
- Unit Price
- per
- Regular Price
- from $219.00
- Sale Price
- from $219.00
- Regular Price
-
- Unit Price
- per
- Regular Price
- from $364.00
- Sale Price
- from $364.00
- Regular Price
-
- Unit Price
- per
- Regular Price
- from $519.00
- Sale Price
- from $519.00
- Regular Price
-
- Unit Price
- per
